What Happened To George Custer?
All
photos
© Bob Reece unless otherwise noted
11.
 12.
12.
 12a.
12a.
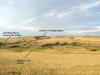
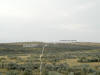
Picture 11 looks south--As Reno charged down the valley Custer moved
north along these bluffs overlooking the LBH. While Reno was on his
skirmish line his men observed the Custer battalion moving along the
bluffs and Custer waving his hat at them. Custer was encouraging them
on.
Picture 12 looks east--Custer turned his battalion to the east moving
down Cedar Coulee which empties into Medicine Tail Coulee.
NOTE: Custer formed two battalions with his five companies. The right
wing comprised Companies I, C, and L under the command of Captain
Myles Keogh and the left wing companies F, and E under Captain George
Yates. Custer retained command of both battalions.
Custer sent two couriers with messages to other battalions during his
move along the ridges and inside coulees. The last known message was
sent to Benteen. Custer's adjutant, William Cooke wrote that message
which read, "Benteen, Come on. Big Village, be quick, bring packs.
P.S. Bring pacs [sic]." Cooke handed the message to Trumpeter John
Martini who rode off looking for Benteen. As Martini rode away from his
friends he suddenly found himself being fired upon by Indians with one
bullet hitting his horse in the rear. Martini kicked his horse and
looked back to see a few warriors shooting at Custer's soldiers. As Martini looked back he
became the last soldier of Custer's command to live another day.
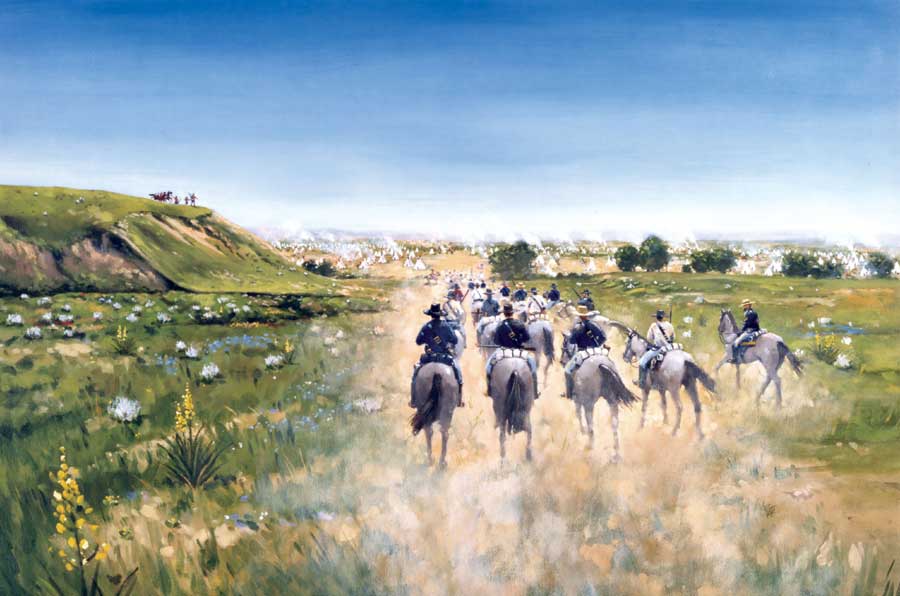
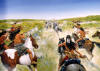
Picture 12a. Pate's "Last Message"
Reconnaissance of Medicine Tail Ford
13.
 14.
14.
 14a.
14a.
 14b.
14b.
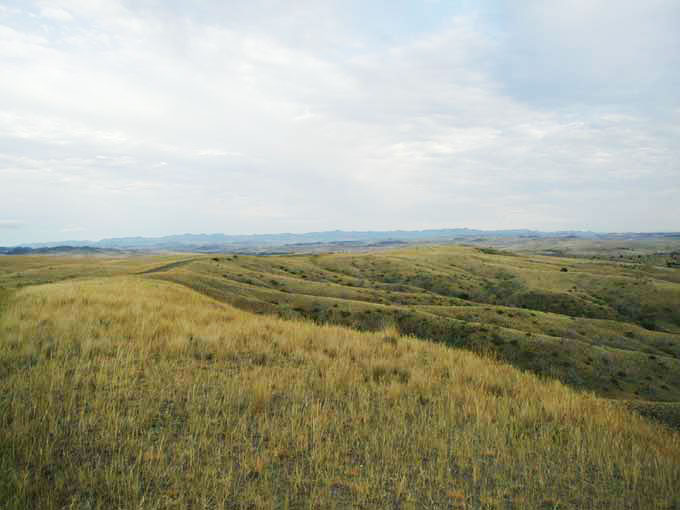
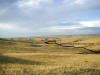
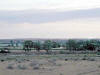
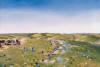
Picture 13 looks north--From the mouth of Cedar Coulee Custer
proceeded west down Medicine Tail Coulee which empties into the Little
Bighorn River. Sporadic gunfire from the warriors met the Custer
troops while moving west. It was near here that Custer sent his last
message to Benteen.
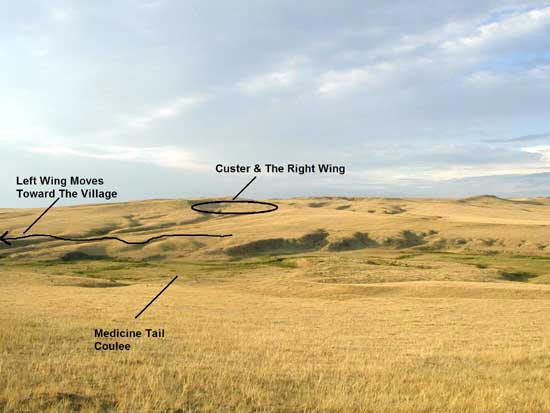
Custer needed to reconnoiter the village so he sent the left wing
further down the coulee to test the village. Most historians believe
that Custer intended to strike the village from Medicine Tail Ford
creating a pincer attack with him at the north end of the village and
Reno the south. While the left wing commanded by Yates moved
toward the village, Custer moved his troops up today's Nye-Cartwright
(Blummer's) Ridge forming a mounted skirmish line facing the village.
From this spot Custer would have a great view of the village and the
land around him north and south.
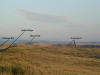
Picture 14 looks west--Companies F and E reached Medicine Tail Ford
under fire from the Indians across the river.
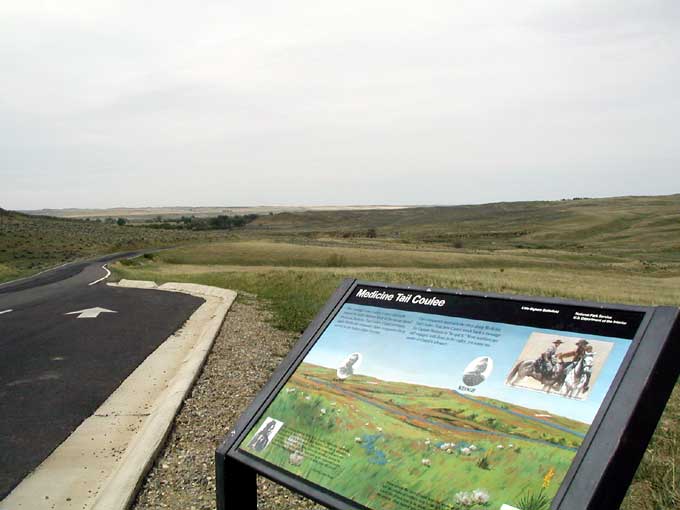
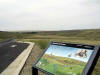
Picture 14a looks NE -- The Medicine Tail Coulee wayside exhibit
today.
Picture 14b. -- Pate's "Medicine Tail Ford"
Custer Under Attack
15.  15a. 15a.
 16. 16.
 16a.
16a.
 16b. 16b.
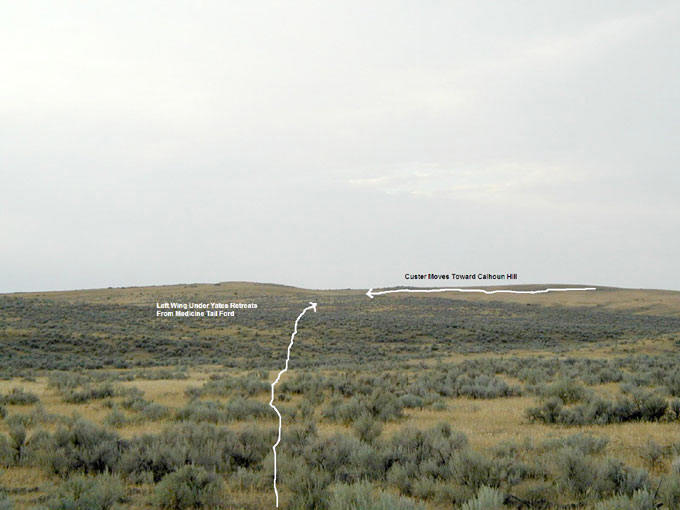
Picture 15 looks N.E.--The fire forced the left wing to turn
northeast, from the river, over rough ground toward today's Calhoun
Hill. Witnessing this fire fight, Custer's troops fired several
volleys into the village and then turned north where the two wings
reunited at Calhoun Hill.
Picture 15a.--Pate's "Retreat From Medicine Tail Ford."
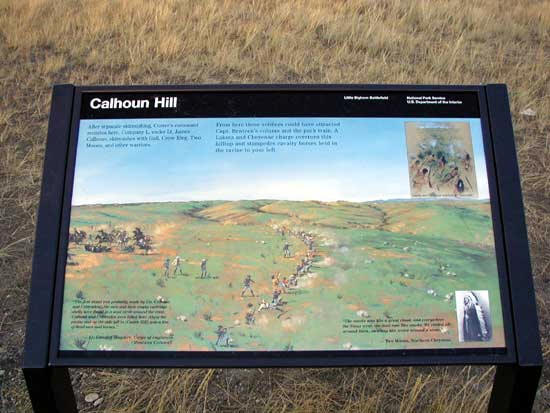
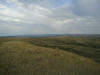
Picture 16 Calhoun Hill Wayside Exhibit--Indians began to move up Deep
Coulee from Medicine Tail Ford and fire into the soldiers along
Calhoun Hill. Custer positioned Company L commanded by his
brother-in-law, 1st Lt. James Calhoun to hold Calhoun Hill.
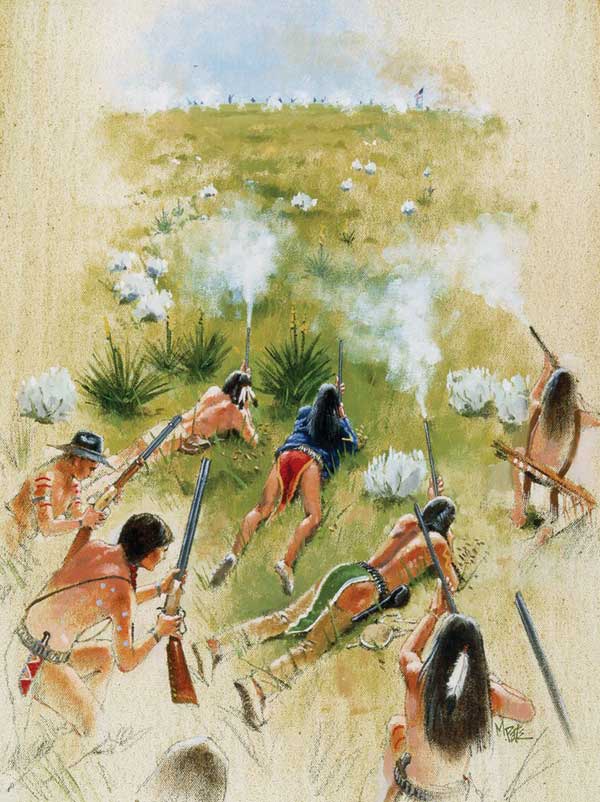
Picture 16a. --Pate's "Henryville": One of the primary positions for
the warriors to fire upon Calhoun Hill is known today as Henryville.
Pate's painting depicts that action from the warrior perspective.
Picture 16b.--Pate's "Calhoun Ridge."
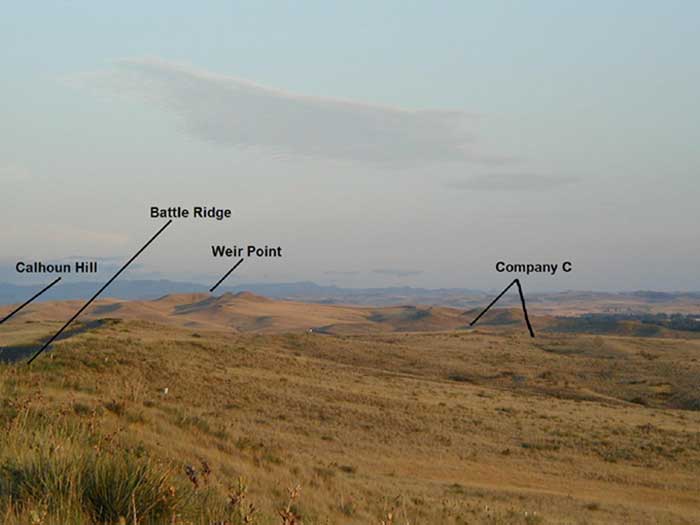
17.
 18.
18.
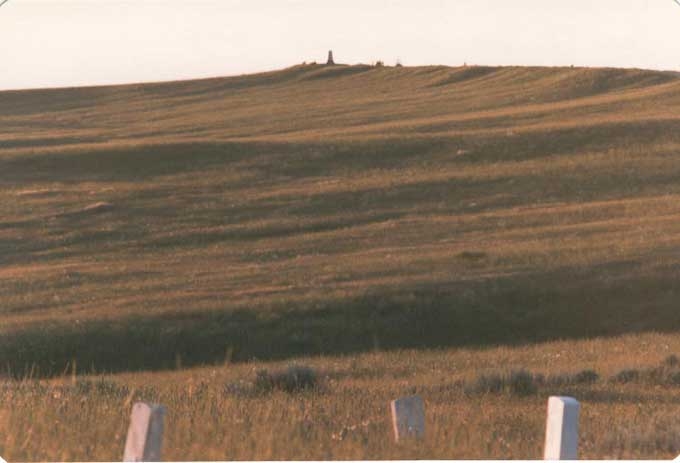
Picture 17 looks north--Company C commanded, this day, by 2nd Lt.
Henry Harrington was placed along the ridge just west of Calhoun Hill.
Picture 18 looks south--This photo shows the location of Companies C
and L.
Custer placed Co I commanded by Captain Myles Keogh in reserve behind
Co L. Custer and Companies E and F moved north along today's Battle
Ridge. Company E was placed north in today's National Cemetery while
Company F was probably on Last Stand Hill.
(Back to Top)
|